PuppetMaster Lesson Plans / Life Cycle of a Butterfly
Grade:
Kindergarten – Grade 2
Lesson Objectives/ Instructional Outcomes:
- Students will be able to explore the life cycles of the butterfly
- Students will be able to work together to collect information
- Students will be able to apply knowledge to develop puppet character
- Students will be able to publish a multimedia project that presents their knowledge

Common Core Standards:
ISTE Standards:
Relationship to Unit Structure:
Help your students learn about the life cycles of the butterfly with this lesson!
Instructional Materials/ Resources:
- Butterfly Song by Harry Kindergarten Music
- Materials for Butterfly Craft (See Tutorials & Printables section of this page)
- Optional – Materials for Background Craft (See Tutorials & Printables section of this page)
- PuppetMaster App
Anticipated Student Challenges:
- Students may struggle with the craft on their own, and may prefer to create their own puppets with crayons or markers.
- Prepping for puppets for all four life cycle stages may be a bit much. Also, an egg or pupa is not as easy to treat as a puppet. Therefore, teacher may stick with two stages, caterpillar and butterfly. Alternatively, teacher may skip the division into groups and simply have everyone do butterfly crafts.
- Doing a craft for the background may be too much to handle, and instead photographs of plants and flowers may be used, indicating the butterfly’s natural habitat.
Day 1
Anticipatory Set:
- Butterfly Song
- Discussion:
- What did we learn about butterflies?
Instruction & Lesson Activities:
(See Tutorials & Printables section of this page for details)
- Teacher performs a whole-class activity classifying information learned about the butterfly to various stages of their life cycle.
- Students are grouped to a different life stage of a butterfly. (Can do all four, or limit to just caterpillar and butterfly.)
- Students listen to the song and collect information about the butterfly.
- Puppet Party: Show the kids how to make their own crafty puppets, and help them make them.
- (Optional) Background Creation: Students take photos outside for their backgrounds. If not, teacher can provide photos and we’ve provided examples as well.
Closure:
Students report an interesting fact about their life stage of the butterfly.
Homework:
None
Day 2 / Day 3
Anticipatory Set:
Teacher reviews App with students, showing an example of creating a puppet, background, and animation.
Instruction & Lesson Activities:
(See Tutorials & Printables section of this page for details)
Workshop:
- Puppet building in app
- Background building in app
- Script writing for PuppetMaster videos
- Creating PuppetMaster videos in app and exporting to photo library
Closure:
Theater: Students share their videos with their class or in small groups
Homework:
None
Differentiation Strategies:
- This is a student-centered lesson that allows them to communicate their understanding.
- Students are invited to create their own puppet using found materials, drawings, or other craft products. Templates are available if necessary.
- Teachers can group students or allow students to work individually.
- Teachers can select multi-perspective texts if they want this to be a whole-class activity.
Assessment:
- Puppet
- Background
- PuppetMaster Video
Butterfly Puppet
Materials:
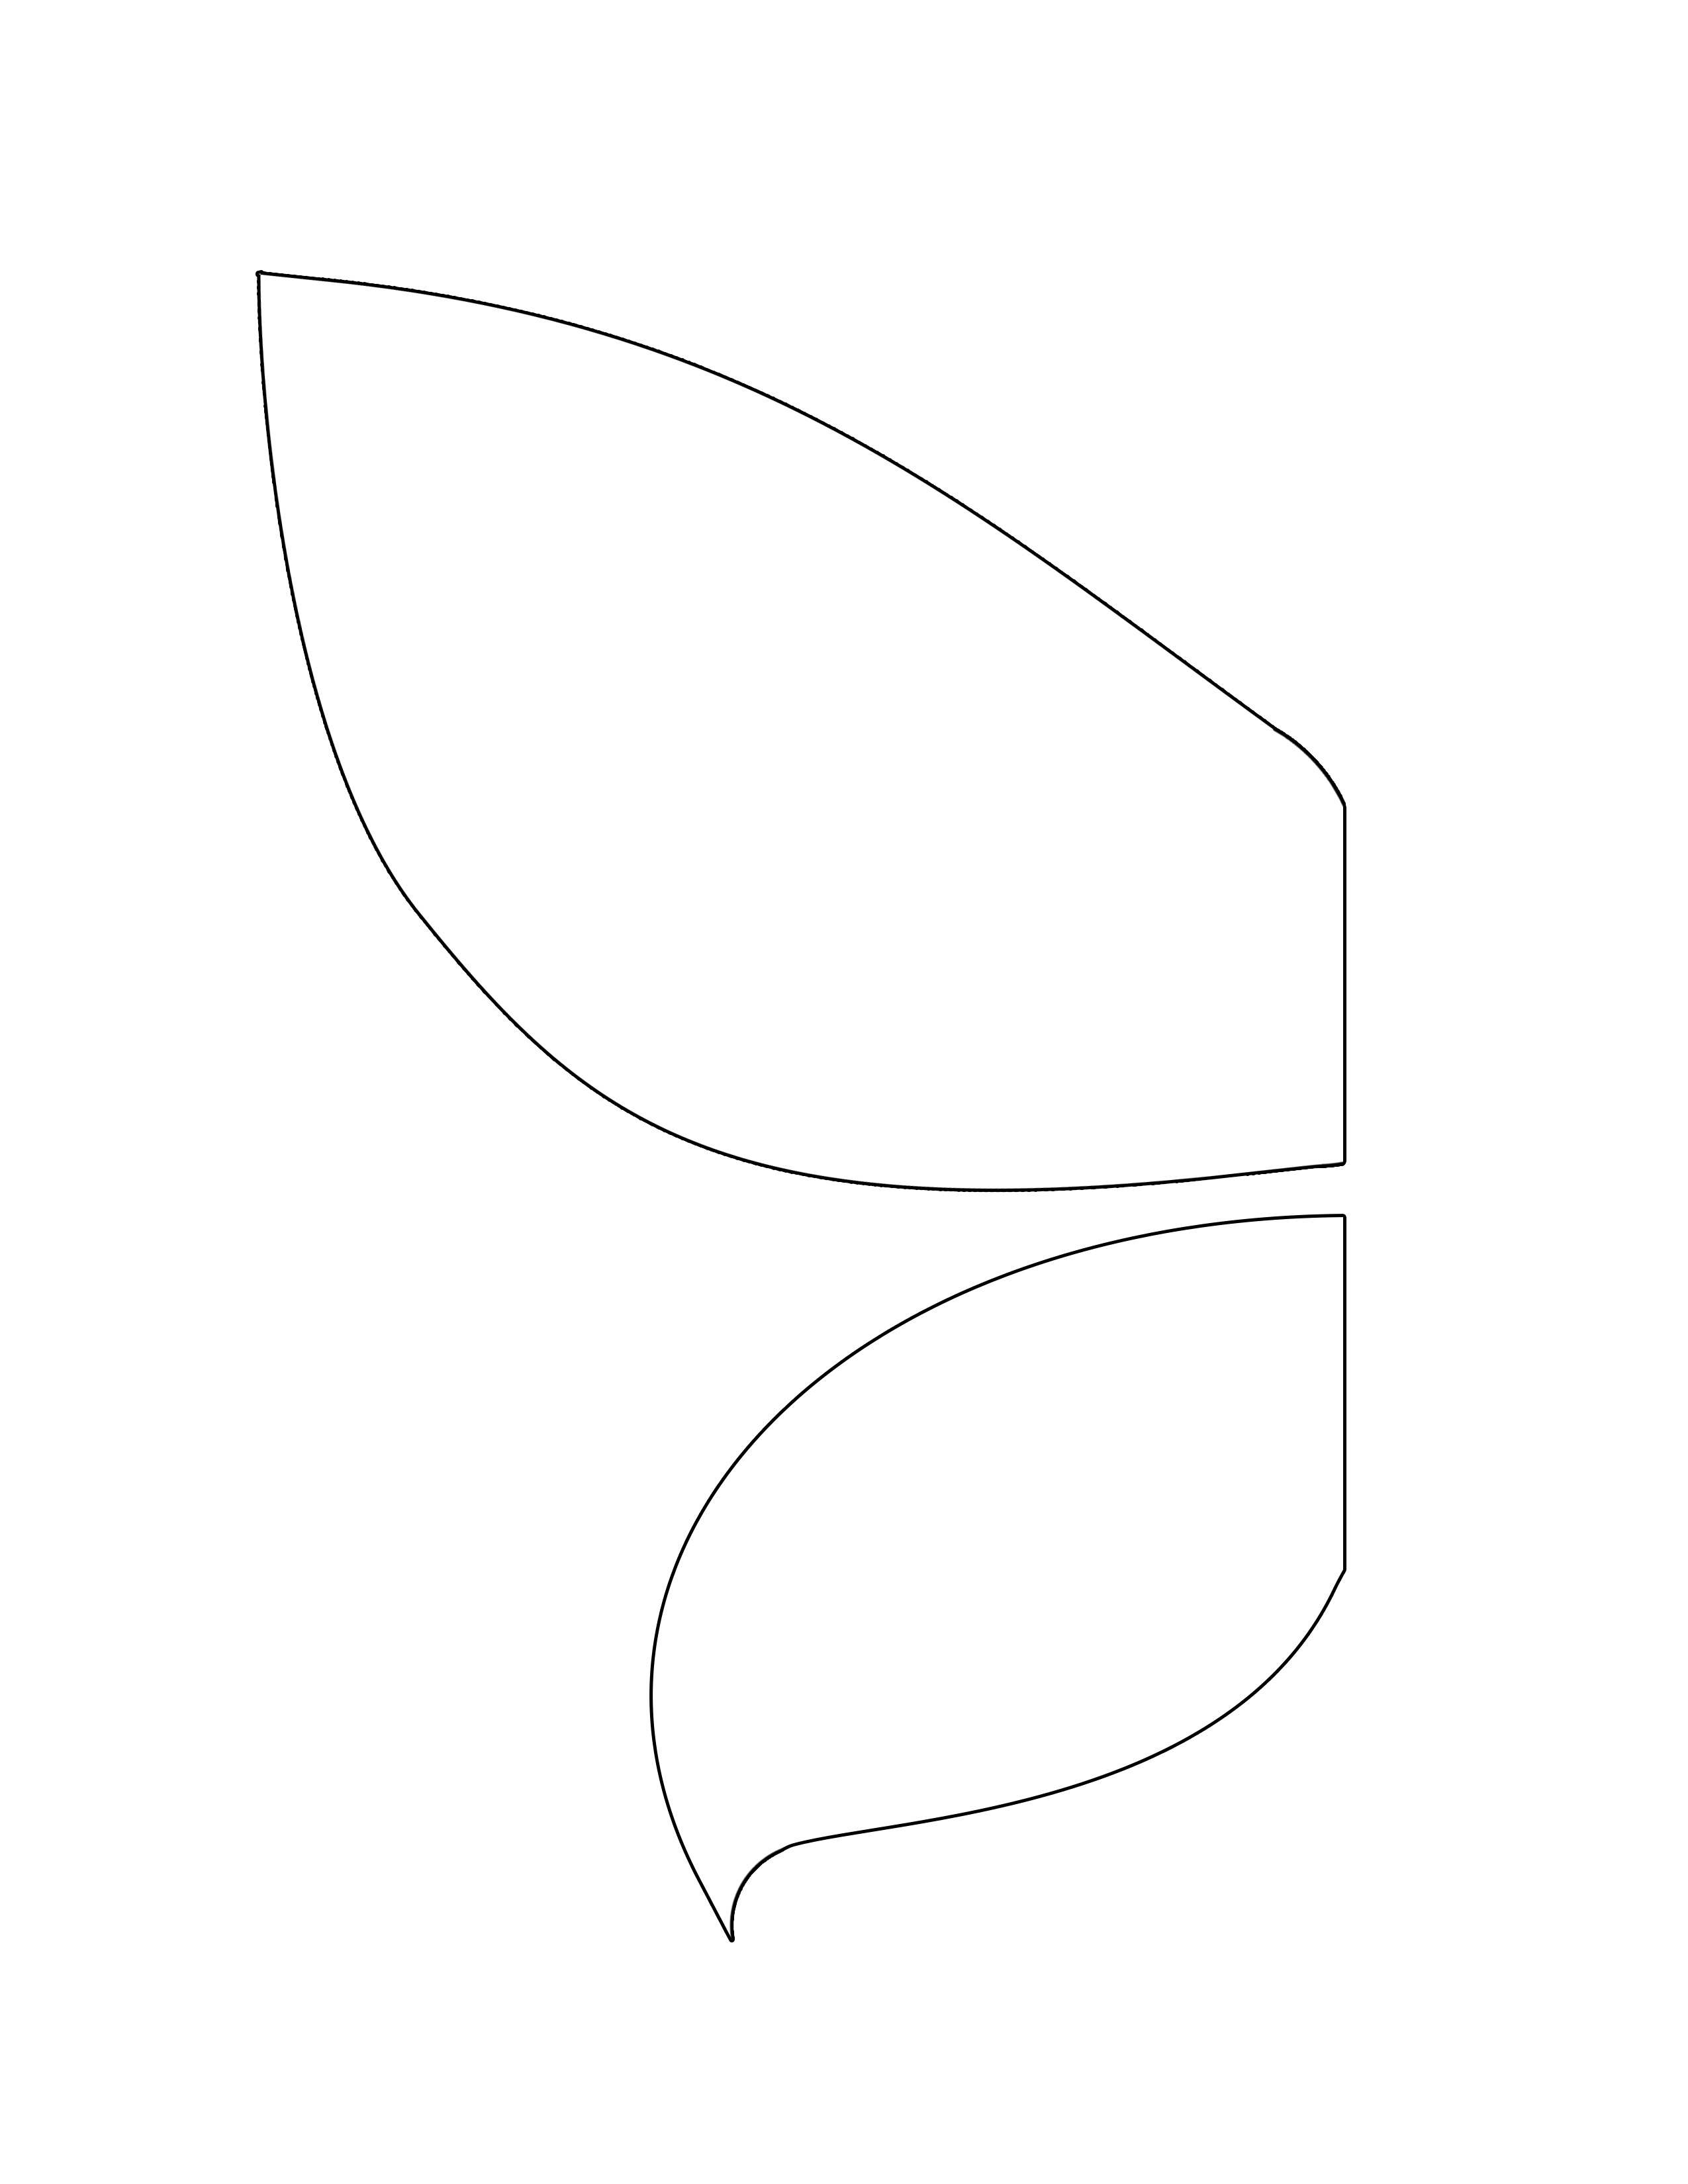
- Old magazine for recycling
- Template for cutting out wings (optional)
- Pipe cleaner
- Binder reinforcement stickers or googly eyes
- Craft stick or popsicle stick
- Glue
- Scissors
Instructions:
See video.
Note: we used half a reinforcement sticker for the mouth, but you can just tear a small piece of magazine paper for that.
Caterpillar Puppet
Materials:
- Old magazine for recycling
- Pipe cleaners
- Binder reinforcement stickers or googly eyes
- Glue
- Tape


Instructions:
Tear pieces of magazine in various colors and patterns. Most pieces are blogs or ovals in slightly varying sizes. One piece should be round, for the head. Arrange the pieces to look like a caterpillar, partly upright – similar to our example. Use the stickers for the eyes, and half of one for a mouth. Or use googly eyes and use a small piece from a magazine as the mouth. Tape pieces of pipe cleaners as the legs and antennae. (Caterpillars may seem to have many legs but actually have only six, like all insects.) The front legs will be animated as our puppet’s arms, so it’s helpful to make them long.
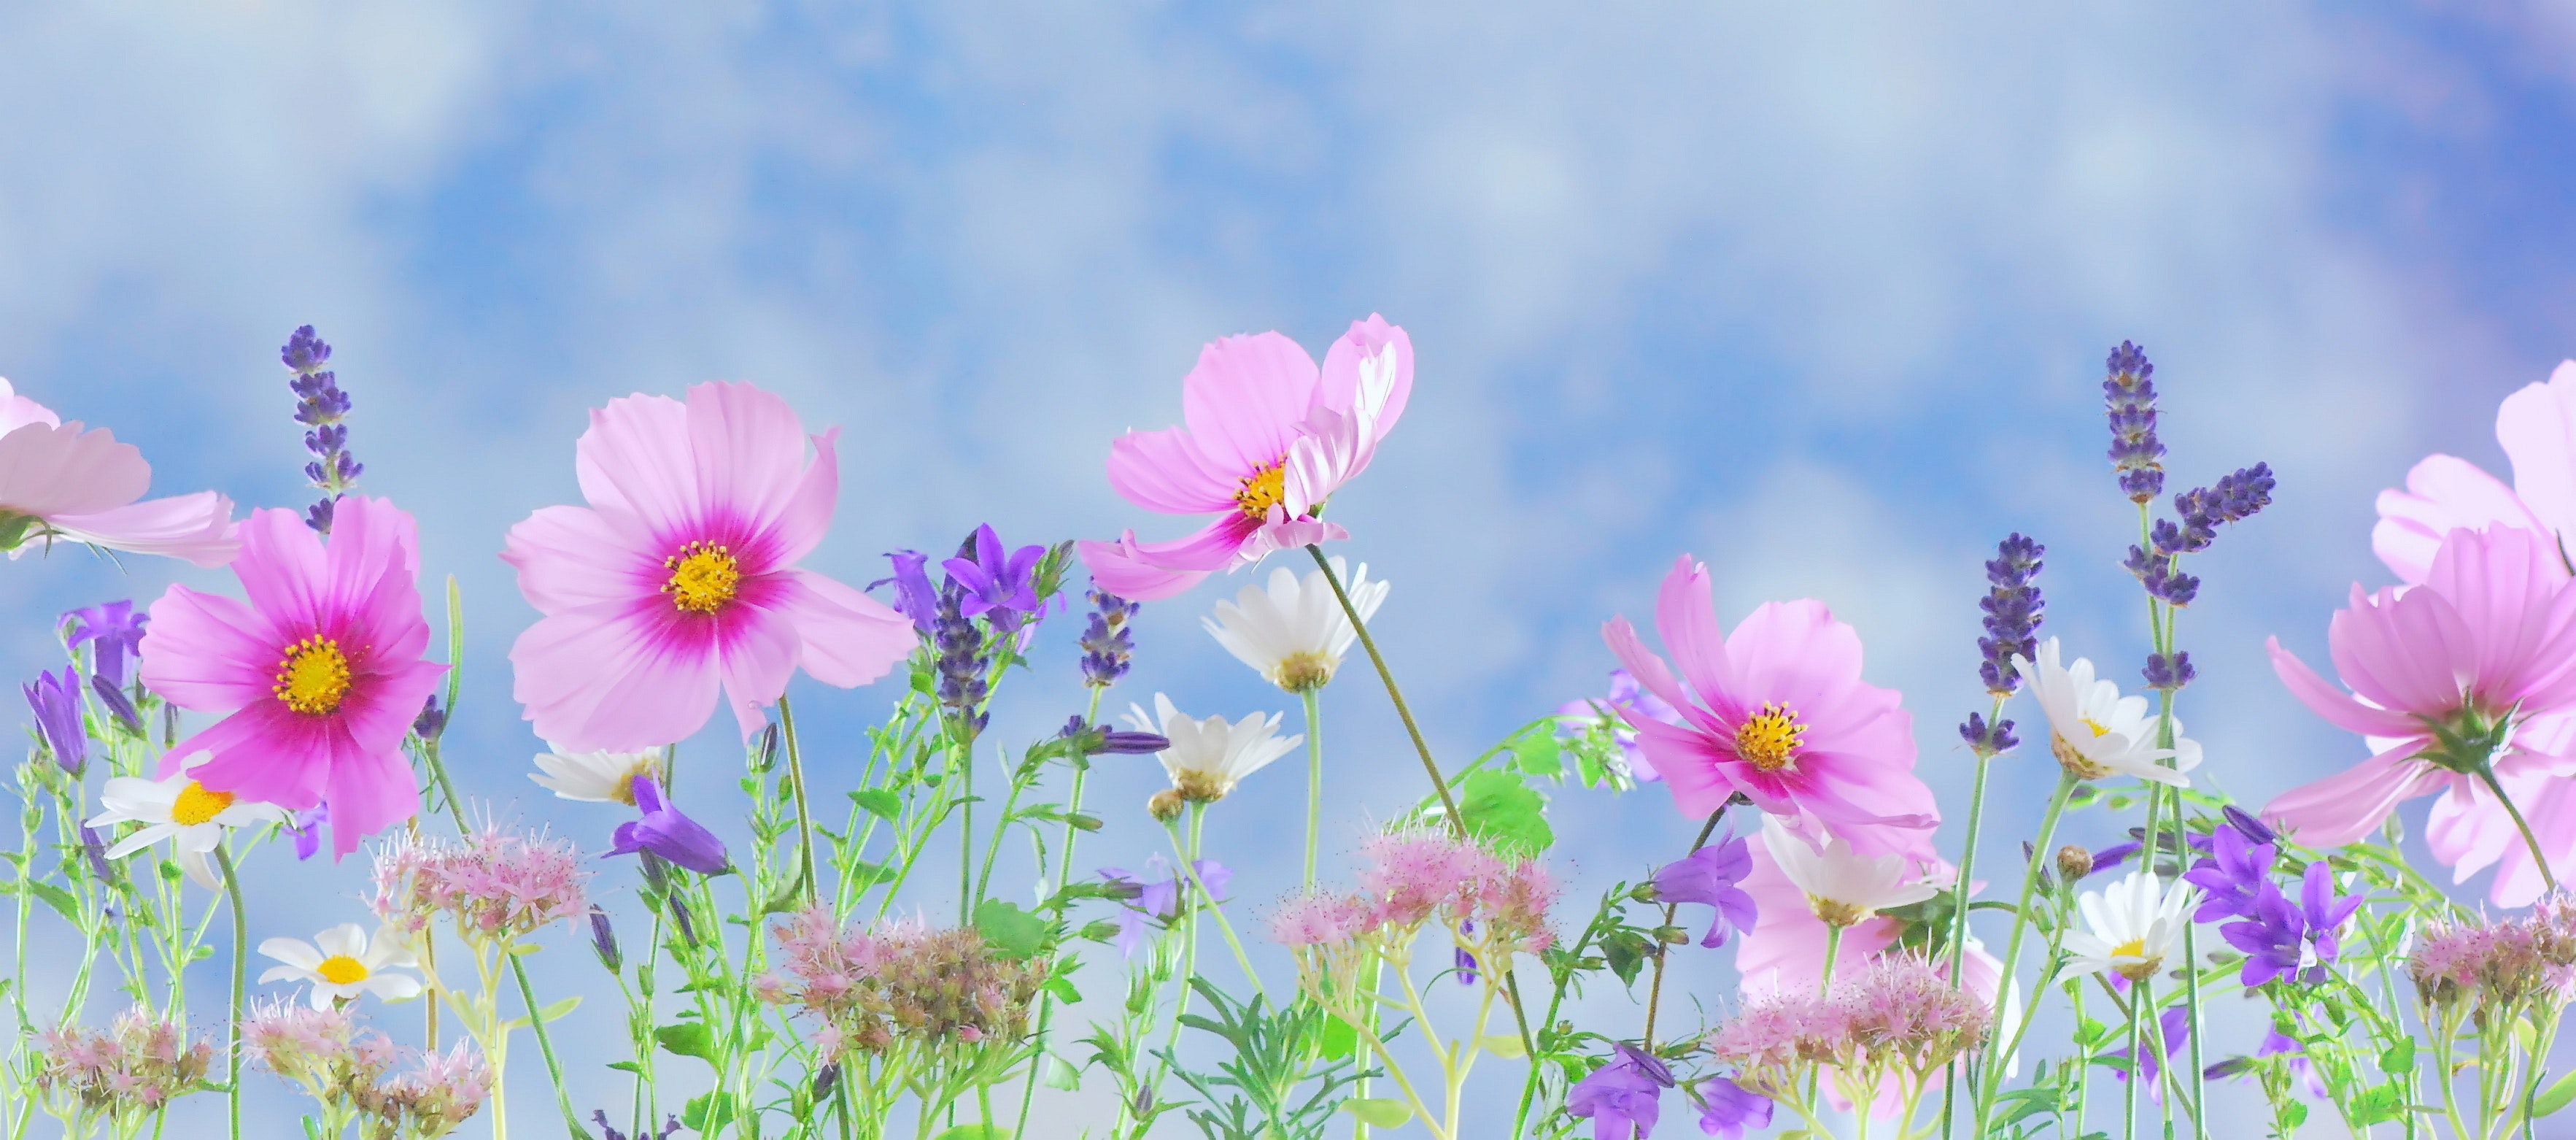
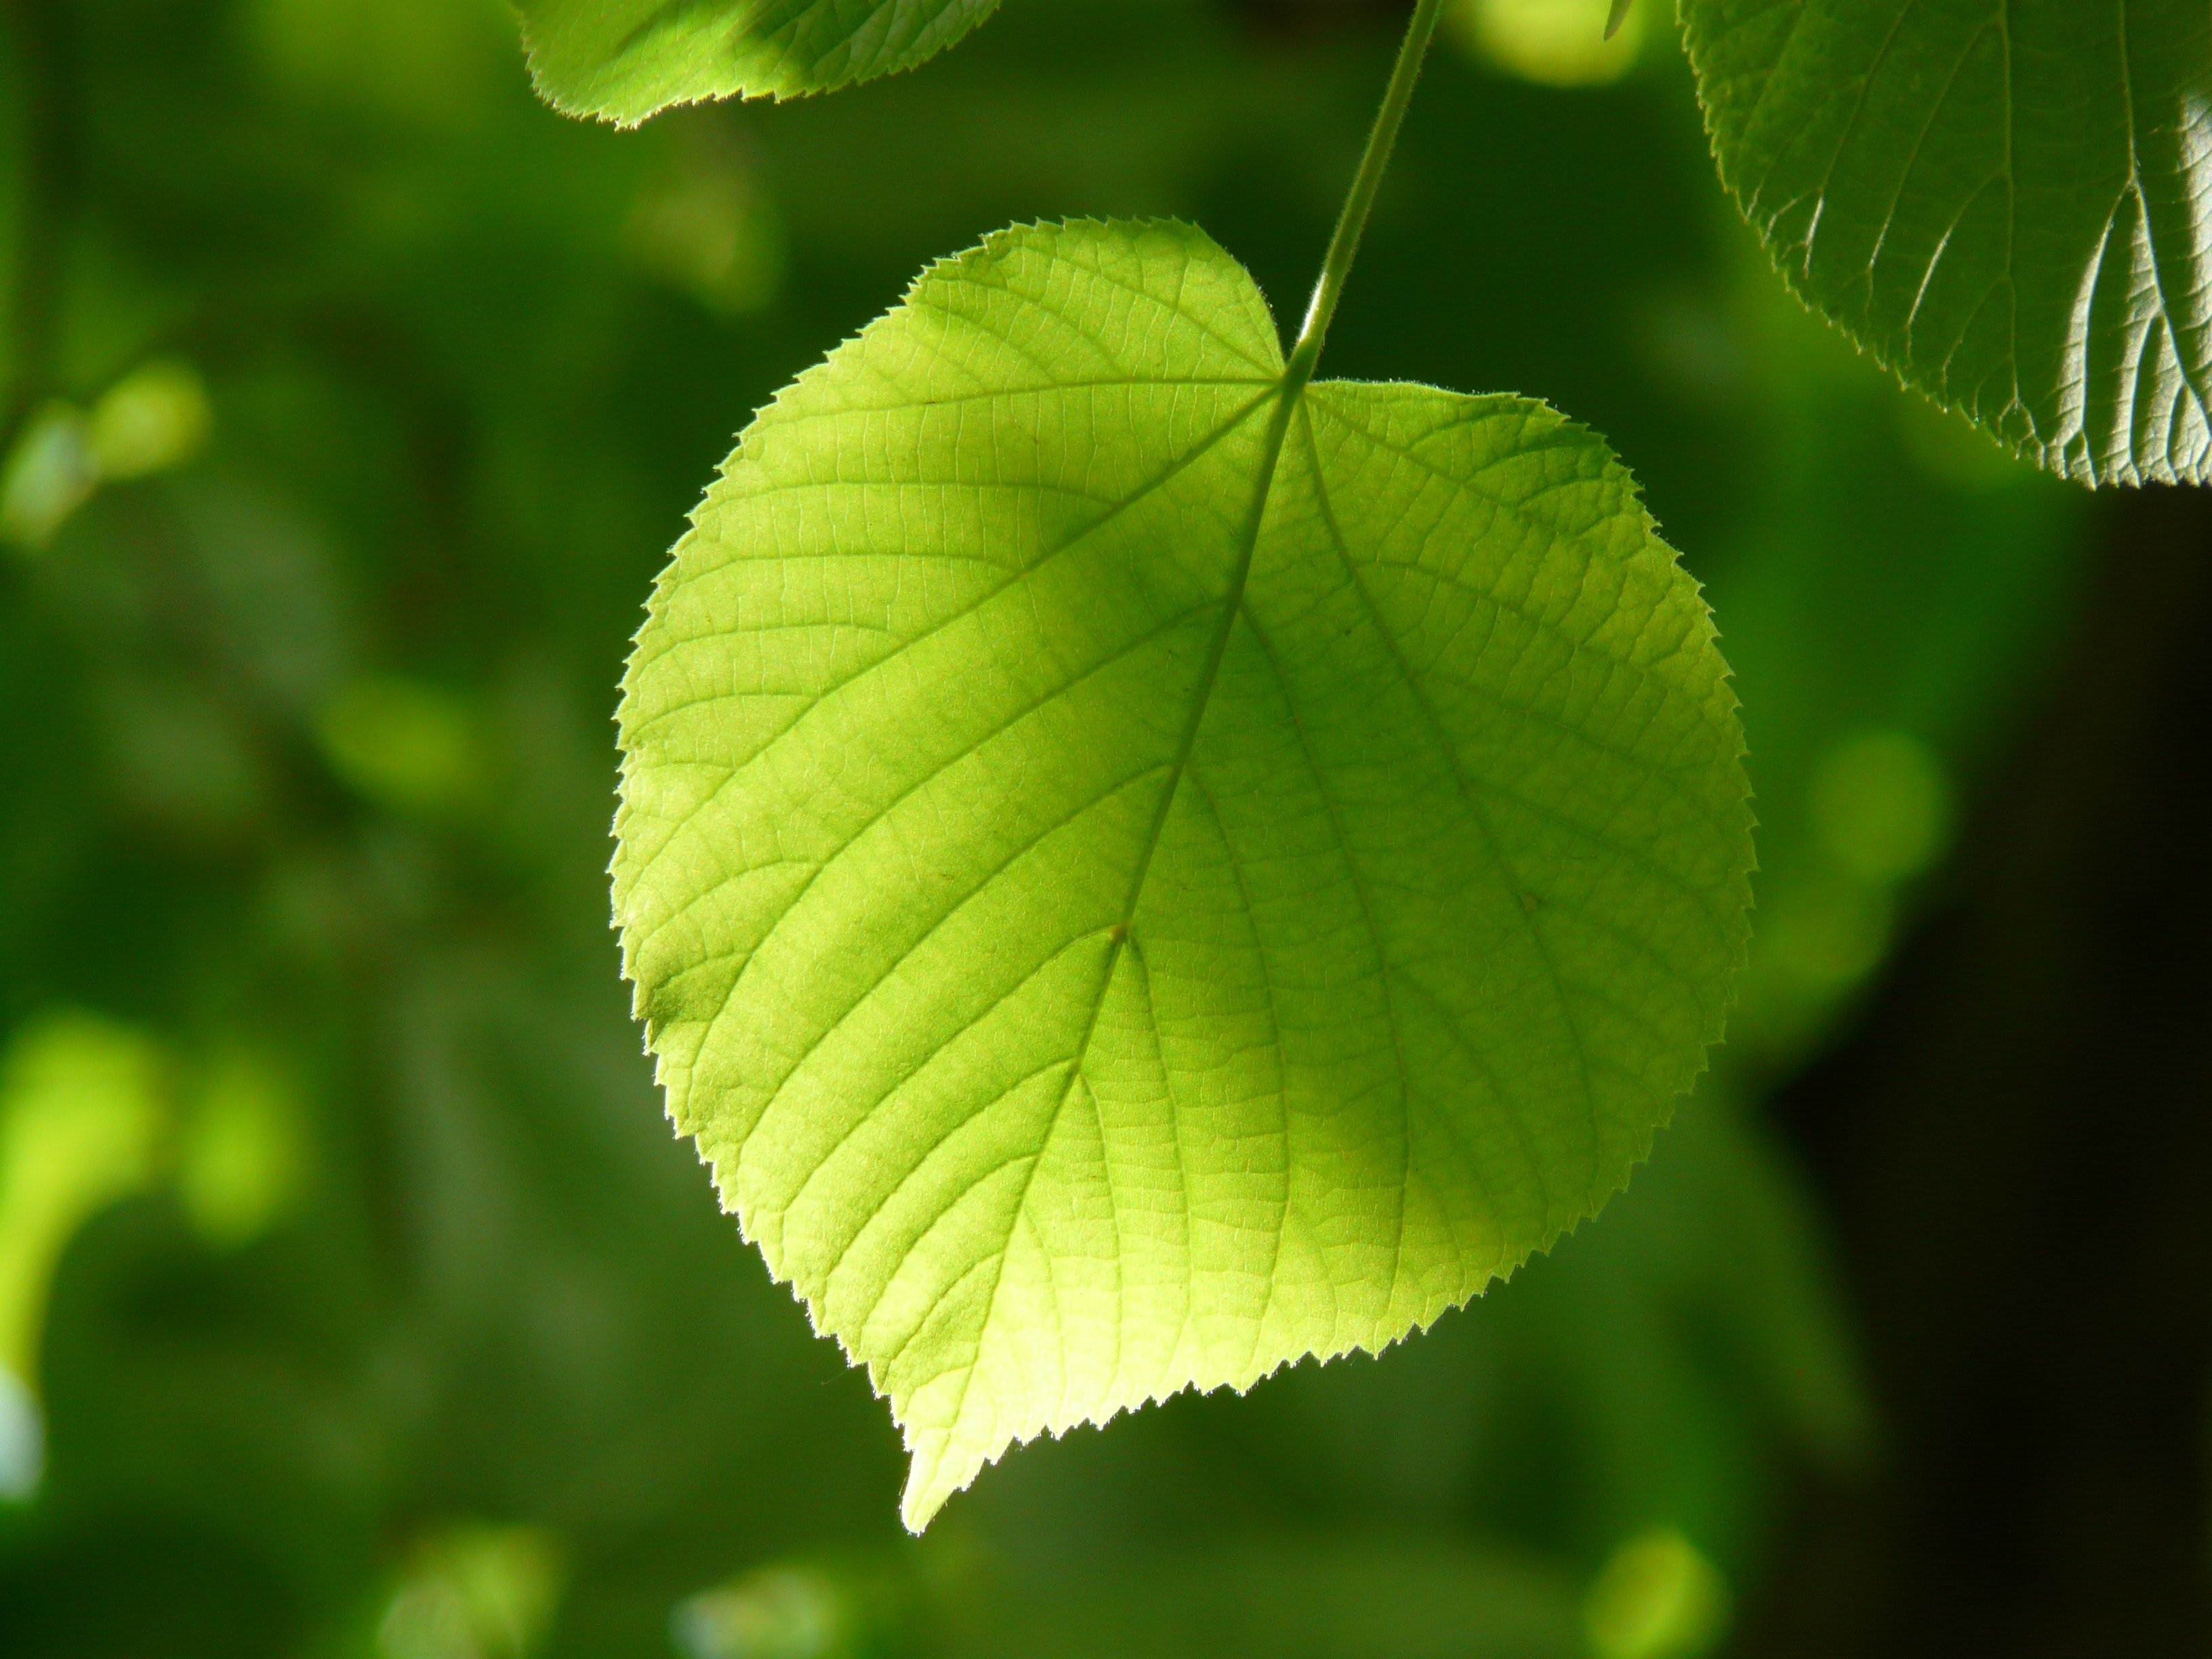
Garden Background
For the butterfly, a background of a garden or field of flowers would be a good fit. For the caterpillar, a closeup of a leaf on a plant works well.
Options:
- Students take a photograph of flowers or plants outside. Use the iPads to take the photos.
- Provide students with photographs from a royalty free website such as pexels.com (we’ve provided examples here). Teacher should download these images onto the class iPads before starting.
- Students create a drawing or painting of a garden or field of flowers, or a close-up of a leaf.
- Students make a collage – using colorful paper, recycles magazines, or even dried leaves and flowers if available.


Creating the PuppetMaster Animation
See video for complete process of creating the puppet and background:
Tips:
- You may find it useful to photograph the kids’ puppets and backgrounds with the device camera before even entering the PuppetMaster app. That way they are saved in your Photo Library for reusing or sharing.
- Try placing the artwork on the floor or low table, especially if still wet, so students can photograph from the top down and see the screen.
- With the butterfly, we’re taking some artistic license and treating the top parts of the wings as the puppet’s arms, and the bottom parts of the wings as the puppet’s lower body.
- With the caterpillar, we make it at least partly upright, to make the animation work better. We include 6 legs – which caterpillars actually have – and we use the front two legs as the puppet’s arms, and include the others with the chest, or two with the chest and two with the lower body.
- You can have some overlap between body parts if you want them to feel continuous and not have gaps during animation.
- Marking the body parts in the app doesn’t have to be perfect, you can always go back in and edit this later.
- Don’t forget to place the puppet joints in the right spot at the last step. The Auto-Fit button give a good start but usually some adjustments are necessary, and then of course hit the Save button. (Note: with our caterpillar, the pelvis joint in particular gets put on the side when using Auto-Fit, but animation will work better if you move it more directly under the chest and head joints.)
- If animating with motion capture (moving your body in front of the camera), make sure only one student is in the shot, and try for a plain background. Keep hair out of face, tucked behind ears. Student should speak loudly so device will pick it up.
- If animating with screen touch, you have multi-touch ability – you can drag the whole puppet around with one finger, use another finger to move a hand, another finger to move the head, etc. So get in there with both hands and multiple fingers.
- Don’t forget to hit Export and save the animation, and let it finish. The saved video will be in your Photo library. You can upload it to Google Drive or anywhere else. You can even take the video into other apps, if you want to edit together several “takes” of the animation, or do any other types of video editing to it.
See video for animation process using motion capture and screen touch methods: